Tired of slow Wi-Fi speeds messing with your streaming and gaming? Ethernet connections offer a more reliable, faster internet connection than wireless. This guide will show you how to easily set up an ethernet cable to connect your PC or laptop directly to the internet for better performance.
Get ready for a quick fix!
What You Need To Set Up An Ethernet Connection

You need an Ethernet cable, a computer or device, and a router or modem to set up an Ethernet connection.
Ethernet Cable
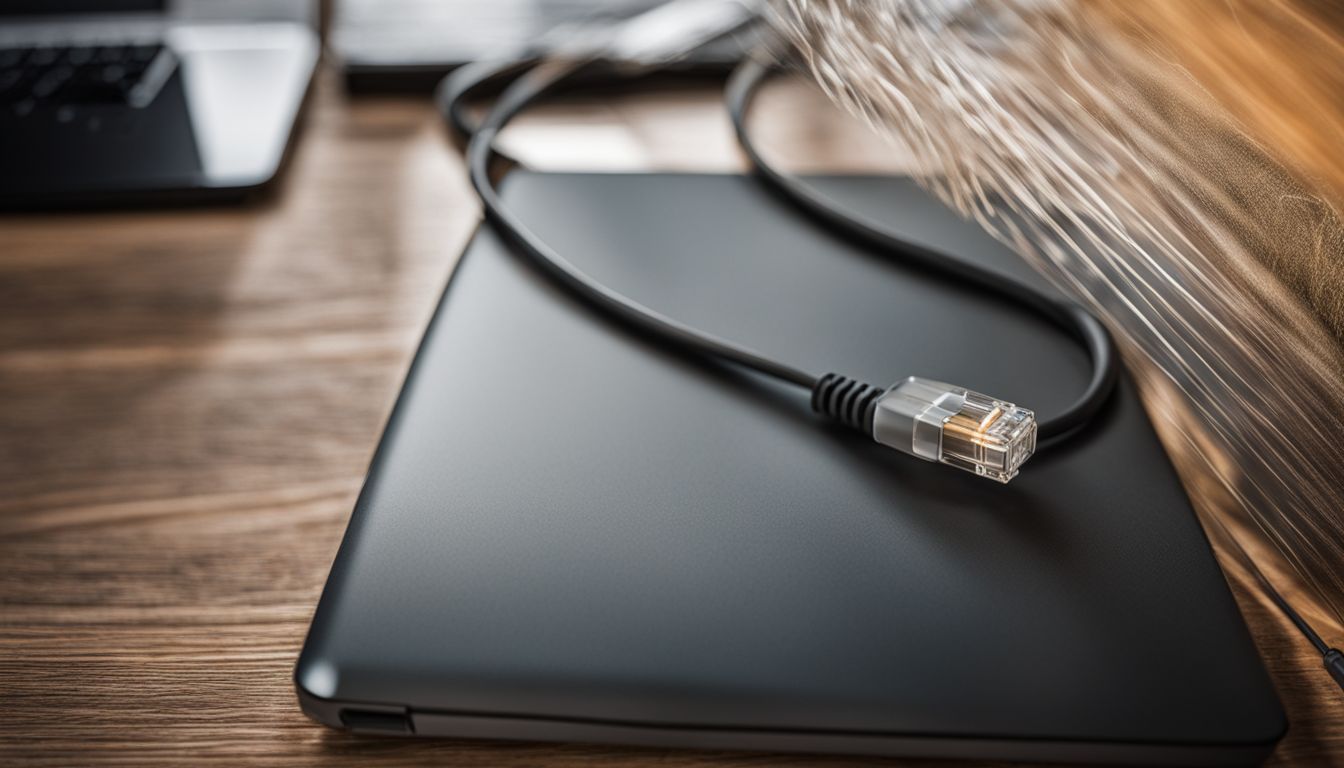
An Ethernet cable is crucial for setting up a wired connection between your computer and the router, ensuring you can access the internet swiftly. Think of it as the highway that lets your data travel back and forth from your computer to the router, providing a stable and fast internet service.
These cables come in various types like Cat5 or Cat6, each capable of handling different speeds of internet traffic. Make sure to plug one end of this cable into the modem’s LAN port and then connect the other end to your computer’s Ethernet port.
Using an Ethernet cable means stepping into the fast lane of internet connectivity.
Now, with your physical connection ready, let’s move onto powering up your devices and checking that everything works smoothly.
You May Like: Ethernet Wall Jack Not Working
Computer Or Device
Your computer or device is key for setting up an ethernet network. Make sure your computer has an ethernet port. If not, grab a USB to Ethernet adapter. This little tool lets you plug the ethernet cable into computers without built-in ports.
I found this out the hard way when trying to ditch slow WiFi for a better internet connection on my old laptop.
Once you have everything ready, it’s time to connect your modem or router using an ethernet cable. This step gets your device hooked up to the internet fast and reliably, giving you quicker access than most WiFi connections.
Router Or Modem
A router or modem is what you need to connect your computer to the internet. Your internet service provider (ISP) might give you one. If not, you’ll buy it yourself. The modem brings internet to your home from your ISP.
Then, if you use a router, it shares that connection with many devices in your house, wirelessly or through more Ethernet cables.
Also, check if there’s a specific port on your router labeled for connecting to modems—it makes a difference for speed and stability. Make sure it’s plugged in right and watch those lights blink until they settle down; that means you’re good to go!
Steps To Connect An Ethernet Cable

1. Insert one end of the cable into the router.
2. Connect the other end to your computer’s Ethernet port.
Insert One End Of The Cable Into The Router
Connect the Ethernet cable by inserting one end into the router. Make sure it is firmly in place, so you have a stable connection. Once done, proceed to connect the other end of the cable to your computer’s Ethernet port for seamless internet access.
Now that you’ve inserted one end of the cable into the router, let’s move on to connecting the other end to your computer and verifying your connection status.
Connect The Other End To Your Computer’s Ethernet Port
Insert the loose end of the cable into your computer’s Ethernet port. This will establish a direct connection between your device and the network, ensuring a stable and secure link for your online activities.
By connecting an Ethernet cable from your router to your computer’s Ethernet port, you can enjoy reliable internet connectivity without any hassle or complicated setups.
Verifying Your Connection
To verify your connection on Windows, go to the network icon and check the connection status. On a Mac, confirm connectivity by checking the top of the screen.
Checking Connection Status On Windows
To check the connection status on Windows, navigate to the network icon at the bottom right of your screen. Right-click on it and select “Open Network & Internet settings.” Next, choose “Ethernet” from the menu on the left-hand side.
Under “Ethernet,” you’ll see a message indicating if you’re connected or not.
After checking your status, ensure that the Ethernet cable is securely plugged into both your computer and router. If there are connectivity issues, try using a different Ethernet cable or connecting to a different port on your router.
Once all these steps have been completed successfully, you should be good to go!
Confirming connectivity will allow you to troubleshoot any potential issues and ensure a smooth internet experience. Now let’s move on to confirming connectivity on Mac as part of setting up an Ethernet connection!
Confirming Connectivity On Mac
To check if your Mac is connected via Ethernet, go to the Apple menu and select “System Preferences.” Then, click on “Network” and choose the Ethernet connection from the list on the left.
You should see a green dot next to “Connected” if your Mac is successfully connected via Ethernet. If it’s not connected, ensure that the Ethernet cable is securely plugged in and try restarting both your Mac and router.
Conclusion
Setting up an Ethernet connection is a breeze with the right tools and steps. Get ready to enjoy fast and reliable internet connections by simply plugging in an Ethernet cable from your computer to the router or modem.
Once connected, double-check your settings on Windows or Mac for a seamless experience. Happy surfing!

