As you’ve probably already noticed, there can be various light indicators on the motherboard, and depending on the model, they can mean different things.
However, in the majority of cases, a red light on the motherboard is something that should not be ignored, as it is commonly associated with some crucial problems with your computer.
While you may notice that something is off, it can be quite challenging to detect the core issue and address it appropriately.
In this guide, we will discuss both the causes and the solutions to any problem the red light is indicating.
Why is my motherboard flashing red?
Before we can offer any kind of solution to this problem, it is necessary to talk about the potential causes. Once you’ve successfully detected the core issue, fixing it shouldn’t be too big of a problem.
We all know that motherboard lights can be a bit difficult to read, so we will get into the different kinds and their roles before we jump into the issues they could point to.
1. Reading the red light on motherboard
Not every red light on the motherboard indicates the same problem and has the same role. As we’ve mentioned, there are different models, and not each will have the same indicators.
On some old models, you may notice that there’s a single light indicator. This makes the troubleshooting process much more difficult, as the red light could indicate just about any kind of failure.
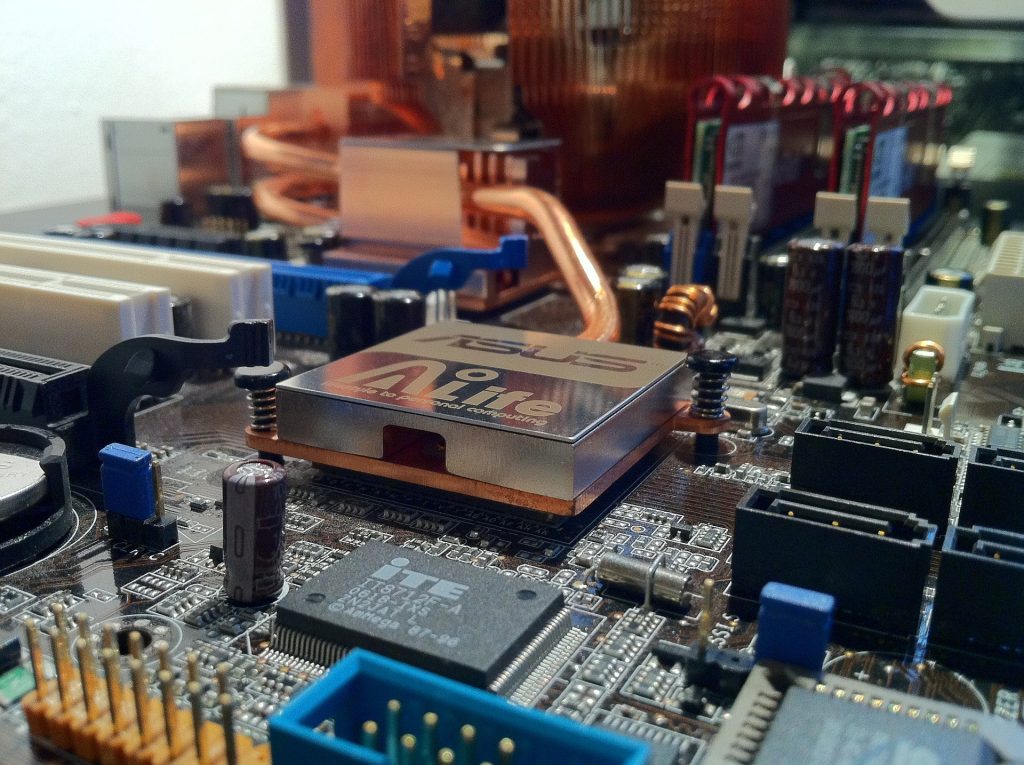
However, most of the modern motherboards include four main light indicators, so let’s talk a bit about each of them to better understand what a red light would signify.
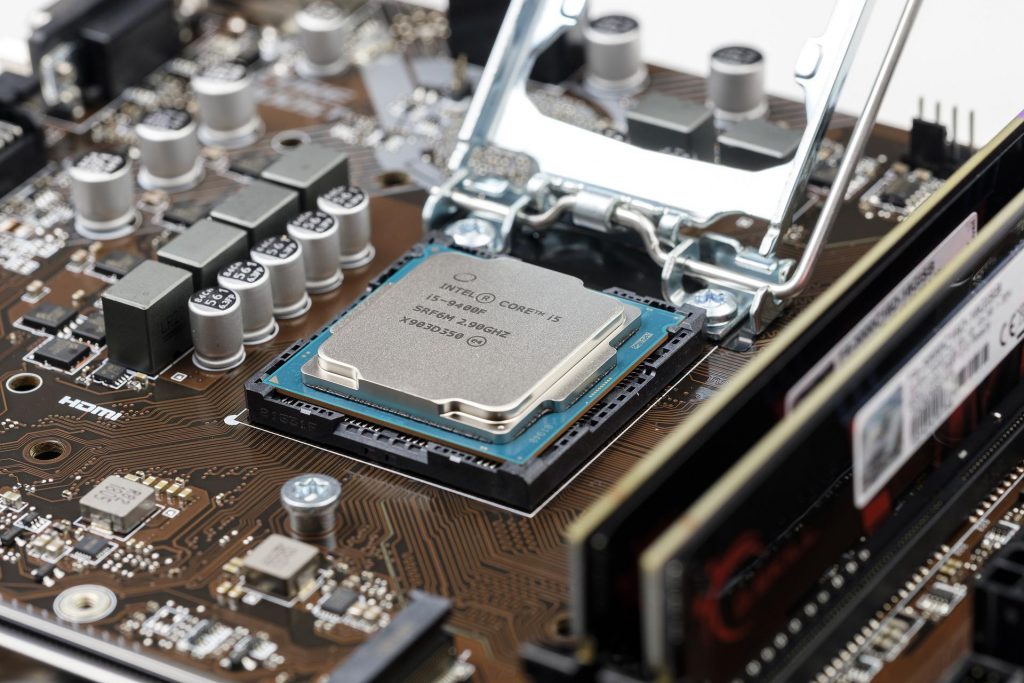
- CPU: A Red CPU light on the motherboard is a clear sign that the CPU (central processing unit) isn’t recognized by the motherboard. It could be that the CPU wasn’t connected properly, or there is a cable defect. Sometimes, the problem is in the CPU fan, as it hasn’t been connected properly. Another possibility is that there is a faulty CMOS battery and this problem is causing a blinking red light on the motherboard.
- DRAM: The DRAM light on the motherboard is red when there is a problem with the positioning of the RAM module. You can test this possibility by inspecting the clamps holding the RAM in place. In case these clamps aren’t locked on each side, this is the issue the red light is indicating.
- BOOT: A solid red light on the motherboard by the BOOT indicator is a clear sign that something is wrong with the boot devices – probably the hard drive the OS is stored on.
- VGA: Finally, a red light near this indicator (VGA or GPU) undoubtedly means that the problem concerns the graphic card. In most cases, the graphic card wasn’t positioned or installed properly.
2. BIOS issue
While the indicators we previously mentioned can help you locate the issue, there are certain problems that could trigger any of the motherboard lights.
Sometimes, a red light on the motherboard near the RAM, could signify an issue with the BIOS, or more specifically – its settings.
Since the BIOS is the most important software in your computer and it controls the entire system, wrong settings could definitely become an alarming issue. If the settings aren’t properly adjusted, the computer may not be able to boot up.
3. Faulty battery
If you keep seeing a red light on the motherboard, it could be that there is an issue with the CMOS battery. This battery is quite an important element, as its role is to preserve the settings of your BIOS while the system is turned off.
If the battery isn’t working properly, the BIOS settings could be lost, and the oscillator and clock won’t be functioning.
In this case, just like with any other faulty hardware component, the best thing you can do is invest in a new one.
4. Computer overheating
A blinking red light on the motherboard can often mean that the computer is overheating. In this case, it is necessary to check the temperature around the graphic cards, as well as the CPU.
If this is the case, it could be that the fans are defective, or the RGB lighting system isn’t working properly.
5. POST
POST, which stands for Power-On Self-Test, is a test that occurs every time the computer system starts, with every single boot cycle. The test accesses all the important hardware elements, including hard drives, CPU, and DRAM.
In case any of these elements are defective or misaligned, the POST should detect signals. This kind of problem will usually be indicated not only by a red light on the motherboard but also by a message on the screen.
In the event of a bigger issue, the computer system won’t be able to load the home screen, and the error message will show up on the screen. Also, there may be beeping sounds coming from the computer.
6. Compatibility
A red light on the motherboard could also mean that some of the hardware components aren’t compatible. In case you’ve recently purchased a new component, or a new computer system altogether, it is necessary to check for compatibility issues.
Another potential issue is damaged components. As you can already guess, the solution would be to replace any old components that aren’t functioning properly.
7. RAM issue
A red RAM light on the motherboard often indicates that the issue probably lies in the RAM itself. However, it is necessary to perform a test to see if there is a problem with any of the RAM sticks or the placement of the RAM.
To perform this test, remove one of the RAM sticks and attempt to boot up the system without it. If this works, that means that there is a problem with the other RAM stick, the RAM isn’t positioned correctly, or the RAM sticks aren’t compatible.
8. CPU power cable
If the CPU power cable is defective, or you didn’t properly connect it to the motherboard, the CPU won’t get enough power. This kind of problem could be the reason behind the red light on the motherboard.
9. PSU issue
On rare occasions, the PSU isn’t able to power the CPU and it isn’t able to function properly. While this rarely occurs, especially if everything else is working just fine, it is still worth checking if everything else seems to be functioning.
How to fix the red light on the motherboard?
Fixing the red light on the motherboard is a pretty simple process once you know exactly what the issue is, or at least where it’s located. Let’s see what you can do to solve this problem in different scenarios.
1. Adjust the BIOS settings
As we’ve mentioned, not setting up the BIOS correctly is certainly a problem that can be manifested in numerous areas, and it is often indicated by a red light on the motherboard.
The most reliable method of setting up your BIOS is following the manual instructions. Make sure to reset the BIOS following the exact instructions provided in the motherboard manual.
The goal here is to return the BIOS to its original settings, which can also be accomplished by removing the CMOS battery and then returning it back into place after 5 minutes.
2. Check all the connections
One of the simplest yet most effective methods when trying to solve matters such as this one is making sure everything is positioned where it should be, and all the cables and components are properly connected.
While this may seem like a waste of time at first, it is actually quite possible that you’ve overlooked a certain connection, or you’ve misinterpreted some of the instructions.
3. Check the RAM components
We also recommend performing the RAM test we’ve mentioned in the previous section. All you need to do is attempt to boot up the system using only one of the RAM sticks.
In case the first stick isn’t working, unplug it and place the other stick to test it. This will reveal if one of the sticks is defective and you can have it repaired if possible, or replace it.
However, if neither are working, you should check their placements and make sure they’re positioned according to the manual.
4. Check the GPU placement
When it comes to GPU placement, you need to make sure that it is plugged in correctly, as this is one of the most common mistakes that could cause a red light on your motherboard.
When plugging in the GPU, make sure you push it in far enough for it to connect properly.
5. Check the PSU
Even though this kind of problem is one of the rarest reasons behind the red light on the motherboard, it is still one of the possible causes.
In order to test the PSU, all you need to do is remove either the CPU or the GPU and check if the red light disappears. Sometimes, the PSU isn’t powerful enough to support both the CPU and the GPU.
6. Check the GPU
A faulty GPU or a GPU that hasn’t been connected properly and hasn’t been detected by the motherboard could be one of the reasons why the motherboard is showing a light.
Remove the GPU and run the system with just the CPU. If you’re able to do this, it could mean that the GPU is indeed the problem. Make sure that it is plugged in correctly, according to the instructions in the manual.
Also, make sure that the GPU cooler sits tight, as it could also be a part of the problem.
7. Unplug all the connections
If none of the above worked, the final step would be to unplug all the connections, then reconnect everything making sure it is in the right spot and there are no defects, and boot up the computer.
If the red light is still showing up, it could mean that the problem is in the processor. A faulty processor is a rather complex matter and one that requires professional assistance.
F. A. Q.
1. Is my motherboard dying if it displays a red light?
To answer this question, you will have to perform some troubleshooting and get to the bottom of the issue. The first step would be to disconnect all accessories and external devices so you can boot with as few connections as possible.
In case the computer won’t boot up without these connections, or POST isn’t showing up, it could be that the motherboard is not functioning, or the issue lies in the power supply. The last step would be to change the power supply.
If you’re still unable to turn on the computer after switching the power supply, it is clear that the issue is the motherboard. You can try performing all the tests we’ve mentioned in this guide, but it is likely that the motherboard is dying in this case.
2. Why is the red light on the motherboard showing up after I install a new RAM?
If the red light is showing up after a RAM installation, this is a clear sign that there’s something wrong with the RAM, whether it be its placement or its components.
It could be that one of the sticks isn’t functioning properly, or that you’ve simply made a mistake when positioning the sticks. Make sure to go back and check the positioning of the sticks, making sure you’re following the manufacturer’s instructions.
Also, another big factor is the compatibility of the RAM you’ve installed with your computer. If there is a compatibility issue, you will definitely need to replace the RAM and purchase a new one that aligns with your system.
3. Why is there a blinking red light on my AMD motherboard?
When it comes to a red blinking light on an AMD motherboard, there are several potential issues. It is either the video card, CPU recognition, or dirt buildup in the motherboard that is causing this problem.
In case the AMD motherboard has the four different indicators we’ve discussed previously, check which of the indicators the red light is the closest to. This could help you locate the problem, as per the instructions explained in this guide.
It is also recommended to consult the user’s manual, as well as customer support if you’re unable to detect the issue.